|
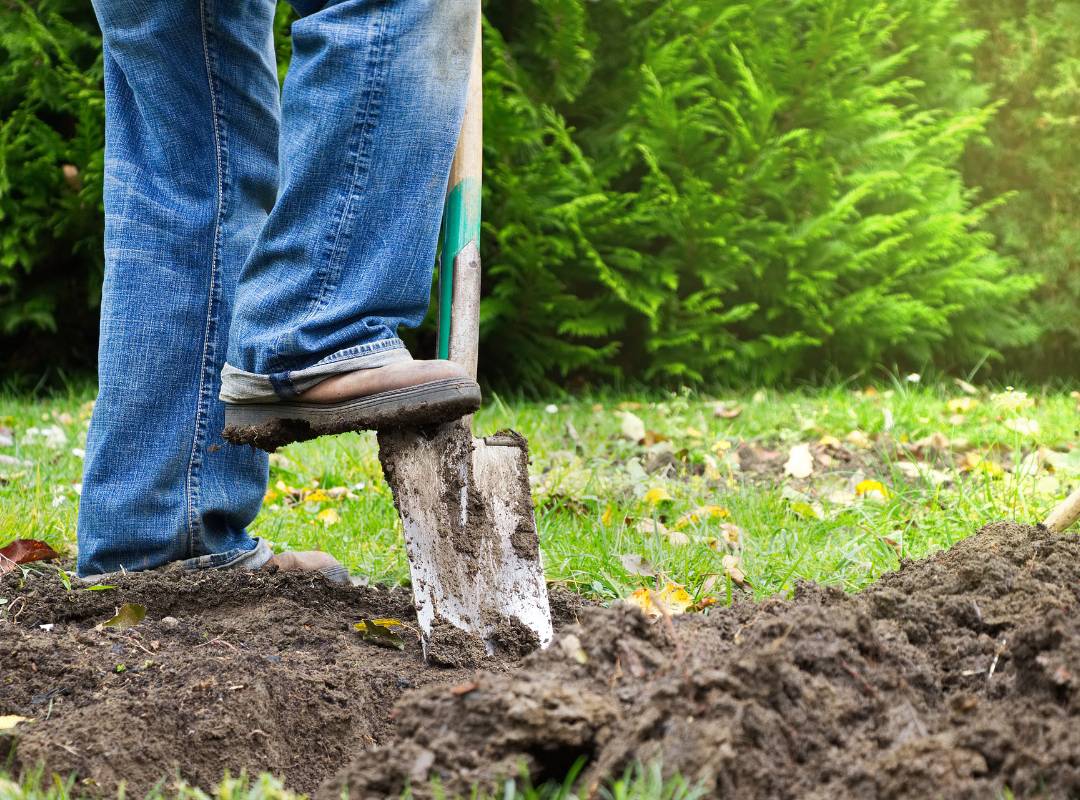
Creating a vibrant and healthy lawn begins with proper planning and execution. Sod installation can be a game-changer, providing an instant boost of lush greenery to your outdoor space. However, before you embark on this exciting journey, it's crucial to follow a systematic approach, especially in regions with specific considerations such as Houston and residential areas. In this blog post, we'll explore the art of sodding and share tips on how to lay sod along a straight edge for a neat and polished appearance. Measure and Order SodMeasure the Area The first crucial step in your sod installation project is to accurately measure the area where you intend to lay the sod. This step ensures that you order the correct amount, preventing excess or shortage. Use a tape measure or a digital measuring tool to get precise dimensions of the length and width of your lawn. Don't forget to account for any irregular shapes or additional areas you might want to cover. Calculate the Square Footage: Once you have the measurements, calculate the square footage of your lawn by multiplying the length by the width. For irregularly shaped areas, divide them into smaller, more manageable sections and calculate each separately. Sum up all the individual square footage to get the total area of your lawn. Determine Sod Requirements: Different sod varieties are sold in pallets, which have a coverage area of 450 sq.ft. per pallet. Divide the total square footage of your lawn by the coverage area of the sod to determine the number of rolls or pallets needed for your project. Choosing a Reputable Supplier: Ordering fresh and high-quality sod is crucial for the success of your lawn project. Research and choose a reputable sod supplier known for providing top-notch products suitable for your area. Look for customer reviews, testimonials, that vouch for the quality of their sod. Place Your Order: Once you've determined the amount of sod required and selected a reliable supplier, place your order. Provide the supplier with accurate information about your lawn dimensions and any specific requirements you may have. Confirm the delivery date and ensure you're prepared to start the installation promptly upon receiving the sod. Accurately measuring your lawn and ordering the right amount of sod are essential steps for a successful lawn installation project. By following these steps and choosing a reputable supplier, you set the foundation for a healthy and beautiful lawn that will enhance the aesthetics of your outdoor space. Assess Your LawnBefore diving into sod installation, take the time to assess your lawn. Identify any existing grass, weeds, or debris that may hinder the growth of your new sod. Remove any obstacles and ensure the soil is well-prepared for the upcoming installation. Assess Your Lawn: The first step in achieving a beautiful sodded lawn is to assess the current state of your yard. Take the time to carefully examine the area where you plan to install the sod. Look out for any existing grass, weeds, or debris that may pose a challenge to the successful growth of your new sod. Identify and Remove Obstacles: Spot any unwanted vegetation or obstacles that might impede the establishment of your new lawn. Whether it's stubborn weeds or remnants of the old grass, clearing the area is crucial for the sod to take root and thrive. Use a garden rake or shovel to remove any debris and create a clean slate for your sod installation. Address Drainage Issues: Proper drainage is vital for the health of your lawn. If your yard has drainage issues, such as water pooling in certain areas, take steps to address these concerns before laying sod. Consider installing drainage systems or adjusting the slope of the land to prevent waterlogging, which can lead to root rot and other problems. Assessing your lawn thoroughly and preparing the soil diligently sets the stage for a successful sod installation. By taking the time to clear obstacles, enhance soil quality, and address drainage issues, you're ensuring that your new sod has the best possible chance to flourish. Prepare the SoilAmending the Soil: To boost the fertility of your soil, consider amending it with organic matter. This can include well-rotted compost, manure, or other organic materials. Adding these elements enriches the soil with essential nutrients, promoting a robust environment for your grass to flourish. Organic matter also improves the soil structure, aiding in water retention and nutrient absorption. Benefits of Healthy Soil:
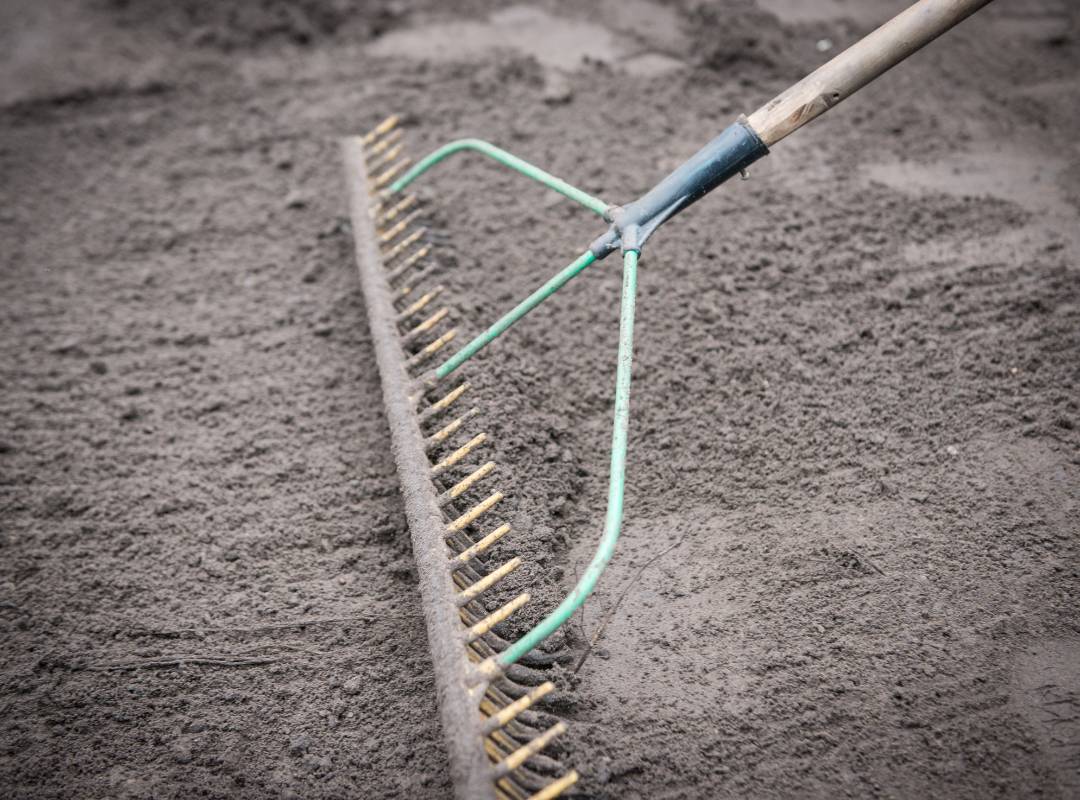
Your journey to a vibrant and thriving lawn begins with the soil beneath your feet. By following these steps to prepare your soil, removing debris, and amending it with organic matter, you're laying the groundwork for a beautiful and sustainable outdoor space. Remember, a healthy lawn starts from the ground up, and with the right soil preparation, you'll be on your way to enjoying a lush, green paradise right outside your doorstep. One crucial step in lawn preparation is grading the surface. By grading the soil, you create a smooth and level foundation that not only enhances the aesthetic appeal of your lawn but also promotes even sod growth and prevents water pooling. Why Grade the Surface?
The Step-by-Step Grading Process:
Benefits of a Level Surface:
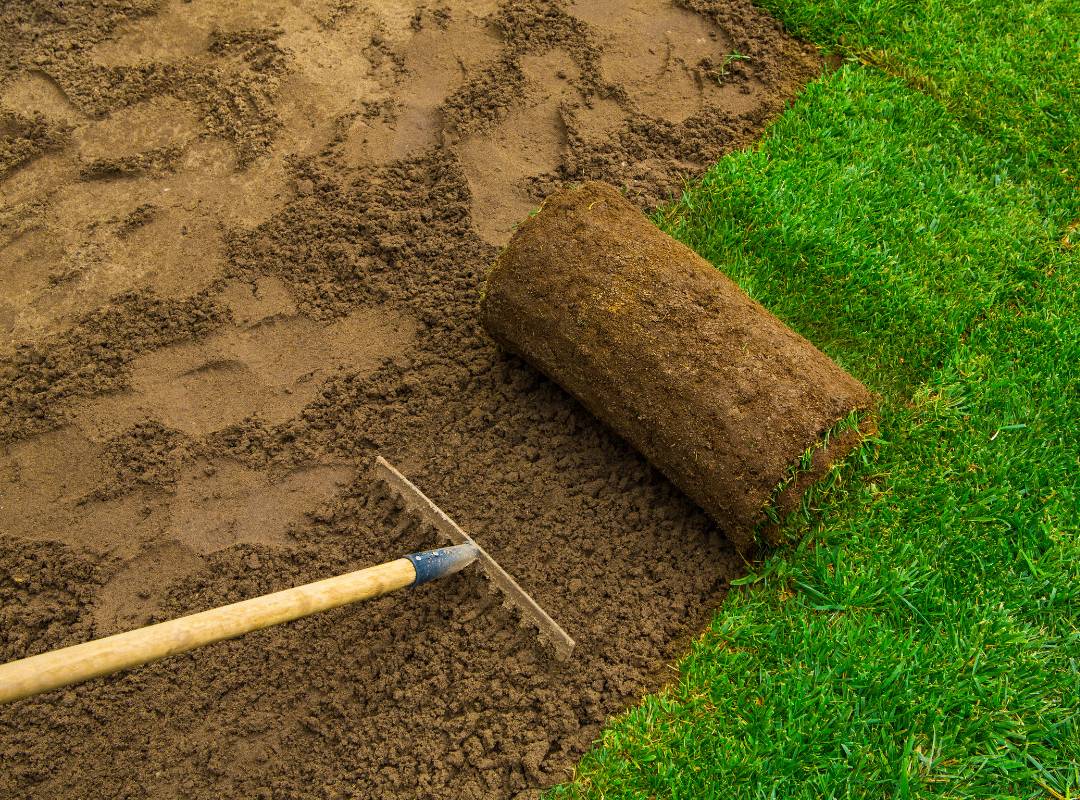
Your journey to a vibrant and thriving lawn begins with the soil beneath your feet. By following these steps to prepare your soil, amending it with organic matter, and grading the surface you're laying the groundwork for a beautiful and sustainable outdoor space. Remember, a healthy lawn starts from the ground up, and with the right soil preparation, you'll be on your way to enjoying a lush, green paradise right outside your doorstep. Lay the SodCreating a lush and vibrant lawn doesn't happen overnight. It requires careful planning, dedication, and, of course, the right techniques. One crucial step in the process is laying sod. Before you start laying sod, choose a location with proper sunlight, soil quality, and drainage. A well-prepared foundation ensures the success of your sodding project. Start Along a Straight Edge: Begin laying sod along a straight edge, such as a driveway or sidewalk. This not only provides a clean and defined border but also serves as a reference point for alignment. Make sure to rake the soil as you advance installing the new grass to eliminate any bumps beneath the surface. Stagger Seams in a Brick-Like Pattern: To achieve a professional look, stagger the seams of the sod in a brick-like pattern. This means that each row's seams should not align with the seams of the adjacent rows. This method helps prevent water runoff and ensures a more stable, visually appealing lawn. Ensure Snug Fit Without Gaps: As you lay each piece of sod, make sure they fit snugly together without gaps. This prevents weeds from penetrating the lawn and promotes even growth. Take your time to adjust the sod pieces, ensuring a seamless connection. Press Edges Together Firmly: Eliminate air pockets between sod pieces by pressing the edges together firmly. This step is crucial for root-to-soil contact, allowing the sod to establish itself more effectively. Use a roller or your hands to secure the edges in place. Laying sod along a straight edge doesn't have to be a daunting task. By following these step-by-step guidelines, you'll be well on your way to creating a neat and beautiful lawn that enhances the overall appeal of your outdoor space. Water and FertilizerCongratulations on your new sod installation! Whether you're a seasoned lawn enthusiast or a first-time homeowner, taking the right steps to care for your freshly laid sod is crucial for a lush and vibrant lawn. Water is the lifeblood of a healthy lawn. To ensure your new sod receives the water it needs for optimal growth, installing an irrigation system is a smart choice. An irrigation system provides a systematic and efficient way to deliver water to your lawn, preventing under or over-watering issues.
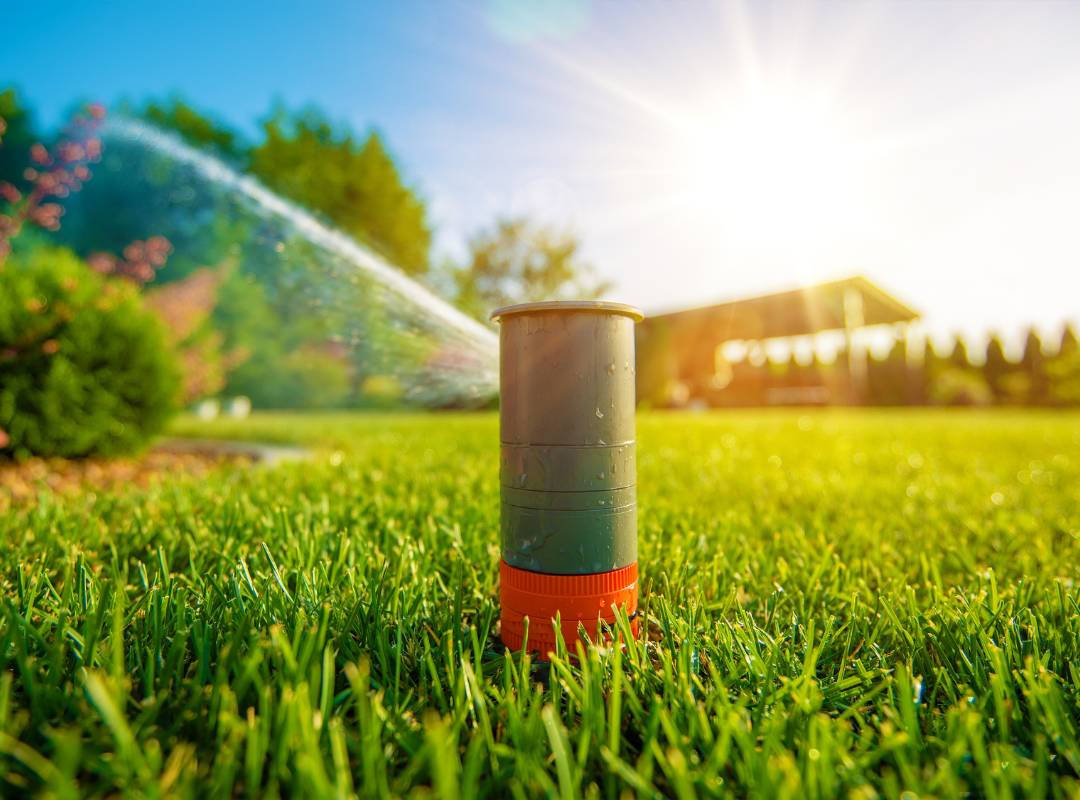
Immediate Attention: The first step in nurturing your newly installed sod is to provide it with the right amount of water. Immediately after installation, grab your garden hose or set up your irrigation system, and give the entire area a good soak. Sod requires consistent moisture to establish roots effectively, and this initial watering is crucial for kickstarting the rooting process. Making sure not to overwater your new lawn, as this will cause diseases. Pro Tip: Ensure that the water penetrates the entire depth of the sod and reaches the soil beneath. This helps the roots establish contact with the soil, promoting a strong foundation for your lawn. Sustained Care: In the following weeks, make it a priority to keep the sod consistently moist. This may require regular watering sessions, especially during drier periods or warmer weather. Adequate moisture is key to supporting root development and preventing the sod from drying out. Pro Tip: Monitor the soil moisture regularly by checking a few inches below the surface. Adjust your watering schedule based on weather conditions, as excessive heat or rain may affect the moisture levels. Boosting Growth: To encourage healthy growth and ensure your lawn reaches its full potential, it's essential to apply a high-quality, balanced fertilizer. Choose a fertilizer with a well-rounded blend of nutrients, including nitrogen, phosphorus, and potassium. This balanced combination provides the necessary elements for robust root development and overall plant health. Pro Tip: Follow the recommended application rates on the fertilizer package, and avoid over-fertilizing, as this can lead to issues such as burnout or excessive growth. Fertilizer your lawn after the first mowing. Watering and fertilizing are the dynamic duo for establishing a vibrant and resilient lawn. By giving your newly installed sod the attention it needs in the form of consistent moisture and nutrient-rich fertilizer, you're laying the groundwork for a healthy and beautiful lawn that will be the envy of the neighborhood. Remember, a little care in the early stages goes a long way in reaping the rewards of a lush and thriving turf. By following these steps, you'll be well on your way to achieving a lush, green lawn that enhances the curb appeal of your home. Enjoy your transformed outdoor space and the satisfaction of a job well done! Comments are closed.
|
Categories
All
Related PagesArchives
July 2024
|

